Personally, I have mixed feelings about them. I generally like beans when they’re in things: tacos, chili, casseroles. But I’m not really someone who can just EAT beans. I don’t eat straight bean dip. I’m not a big fan of beans instead of meat in dishes. Until we come to peanuts. Though we treat them like a nut, most people (I think) know that they’re technically a legume. And they’re my VERY favorite! Even as a kid, I was obsessed with peanut butter. I’m pretty sure that I asked my mom for peanut butter sandwiches every day for lunch the couple years I actually went to school. I just don’t get tired of it. Which means that it comes up pretty often as an ingredient in my recipe box and blog.
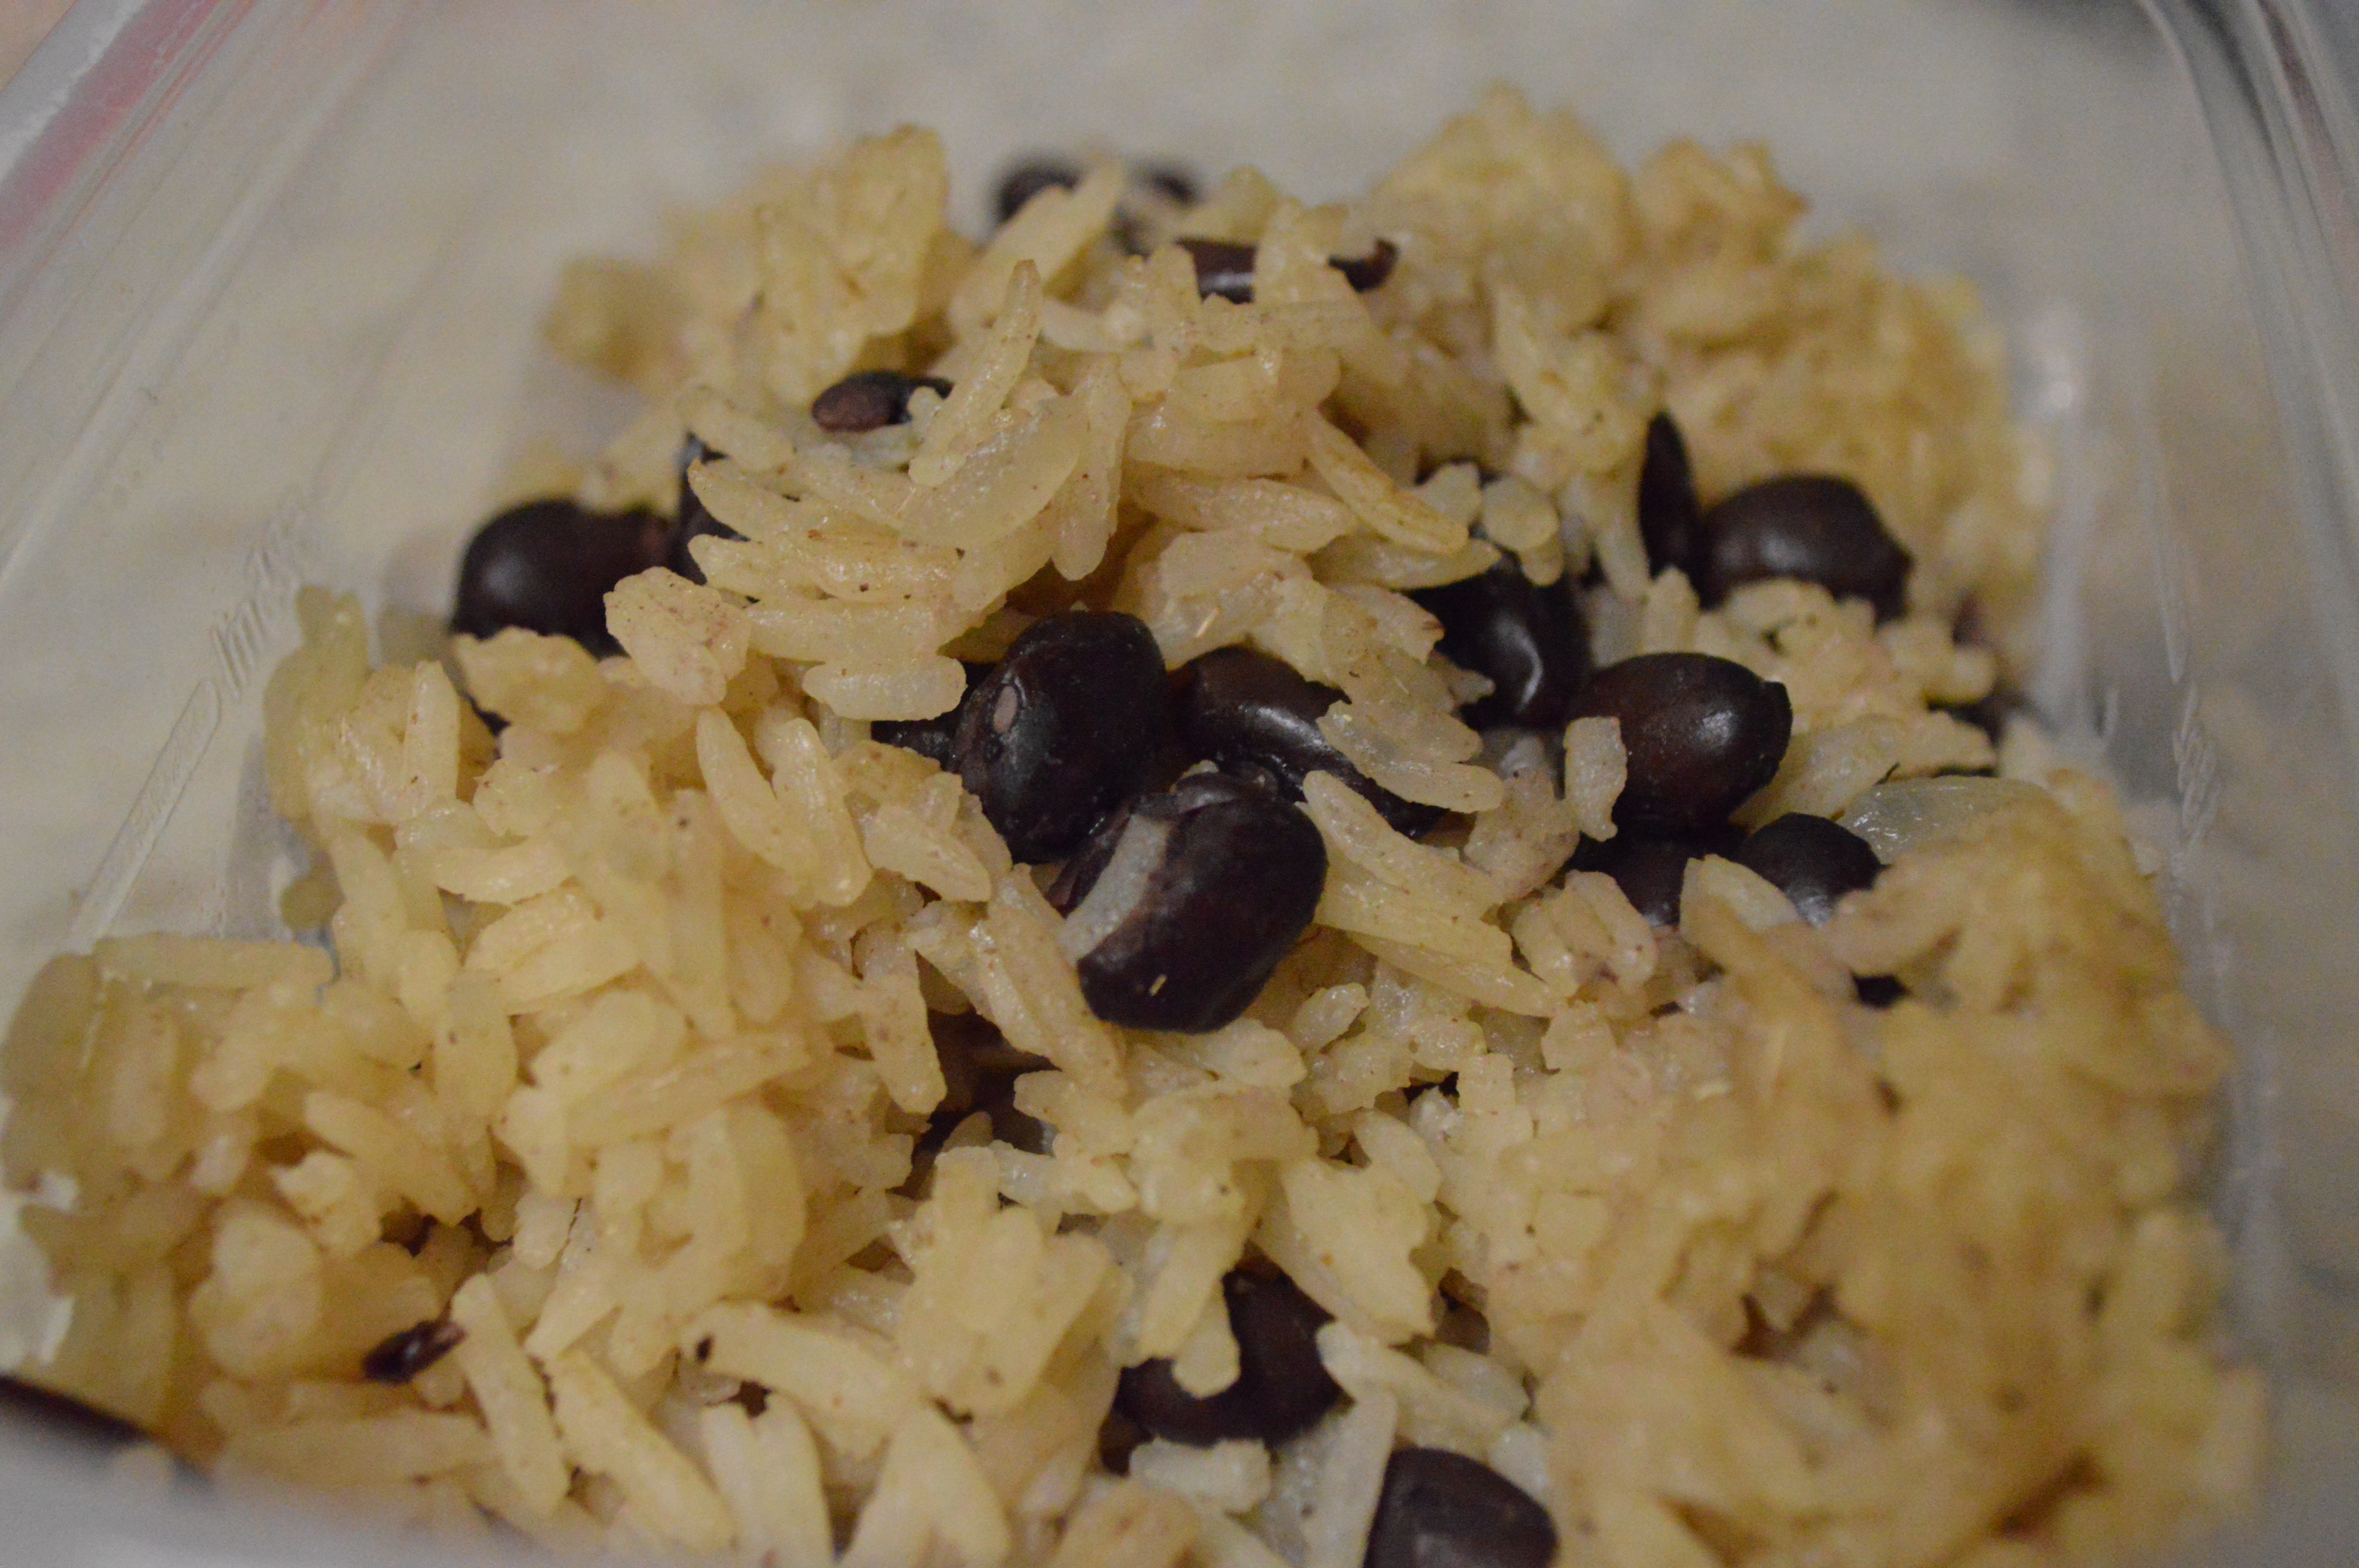
So first up is the more traditional type of legume. This is a pretty simple, straightforward side dish. It’s based on pantry ingredients, so it’s a nice fallback when the vegetable you were planning to serve has wilted in your crisper. (Please tell me I’m not the only one that happens to.) I wouldn’t call it mind-blowing, but it is tasty.
Black Beans and Rice (from the Weary Chef blog)
1 tbsp. olive oil
1/4 c. diced onion
2 cloves minced garlic
1 c. rice
2 c. chicken broth
1/2 tsp. cumin
1 15 oz. can drained, rinsed black beans
- In a medium saucepan, heat the oil over medium-high heat. Add the onion and saute 3 minutes or until tender and starting to brown. Add the garlic and saute another minute. Add the rice and saute 2 more minutes.
- Add in the broth and cumin and season with salt and pepper. Stir and bring to a boil. Cover, reduce the heat to low, and simmer for 20 minutes.
- Remove the lid and stir in the beans. Put the lid back on, turn off the heat, and let stand 3 minutes before serving.
On to my favorite legume! And again, we’re discussing ice cream when most people probably don’t want to eat anything frozen. But I, personally, think ice cream is good all year round. 🙂 This ice cream is just SO delicious! I mean, it’s chocolate and peanut butter with a nice amount of salt to balance things out. I’ve made this a couple of times now (and blogged it about here), and I actually like it with double the amount of peanut butter (though I left the original amounts in the recipe). You just can’t have too much! 😀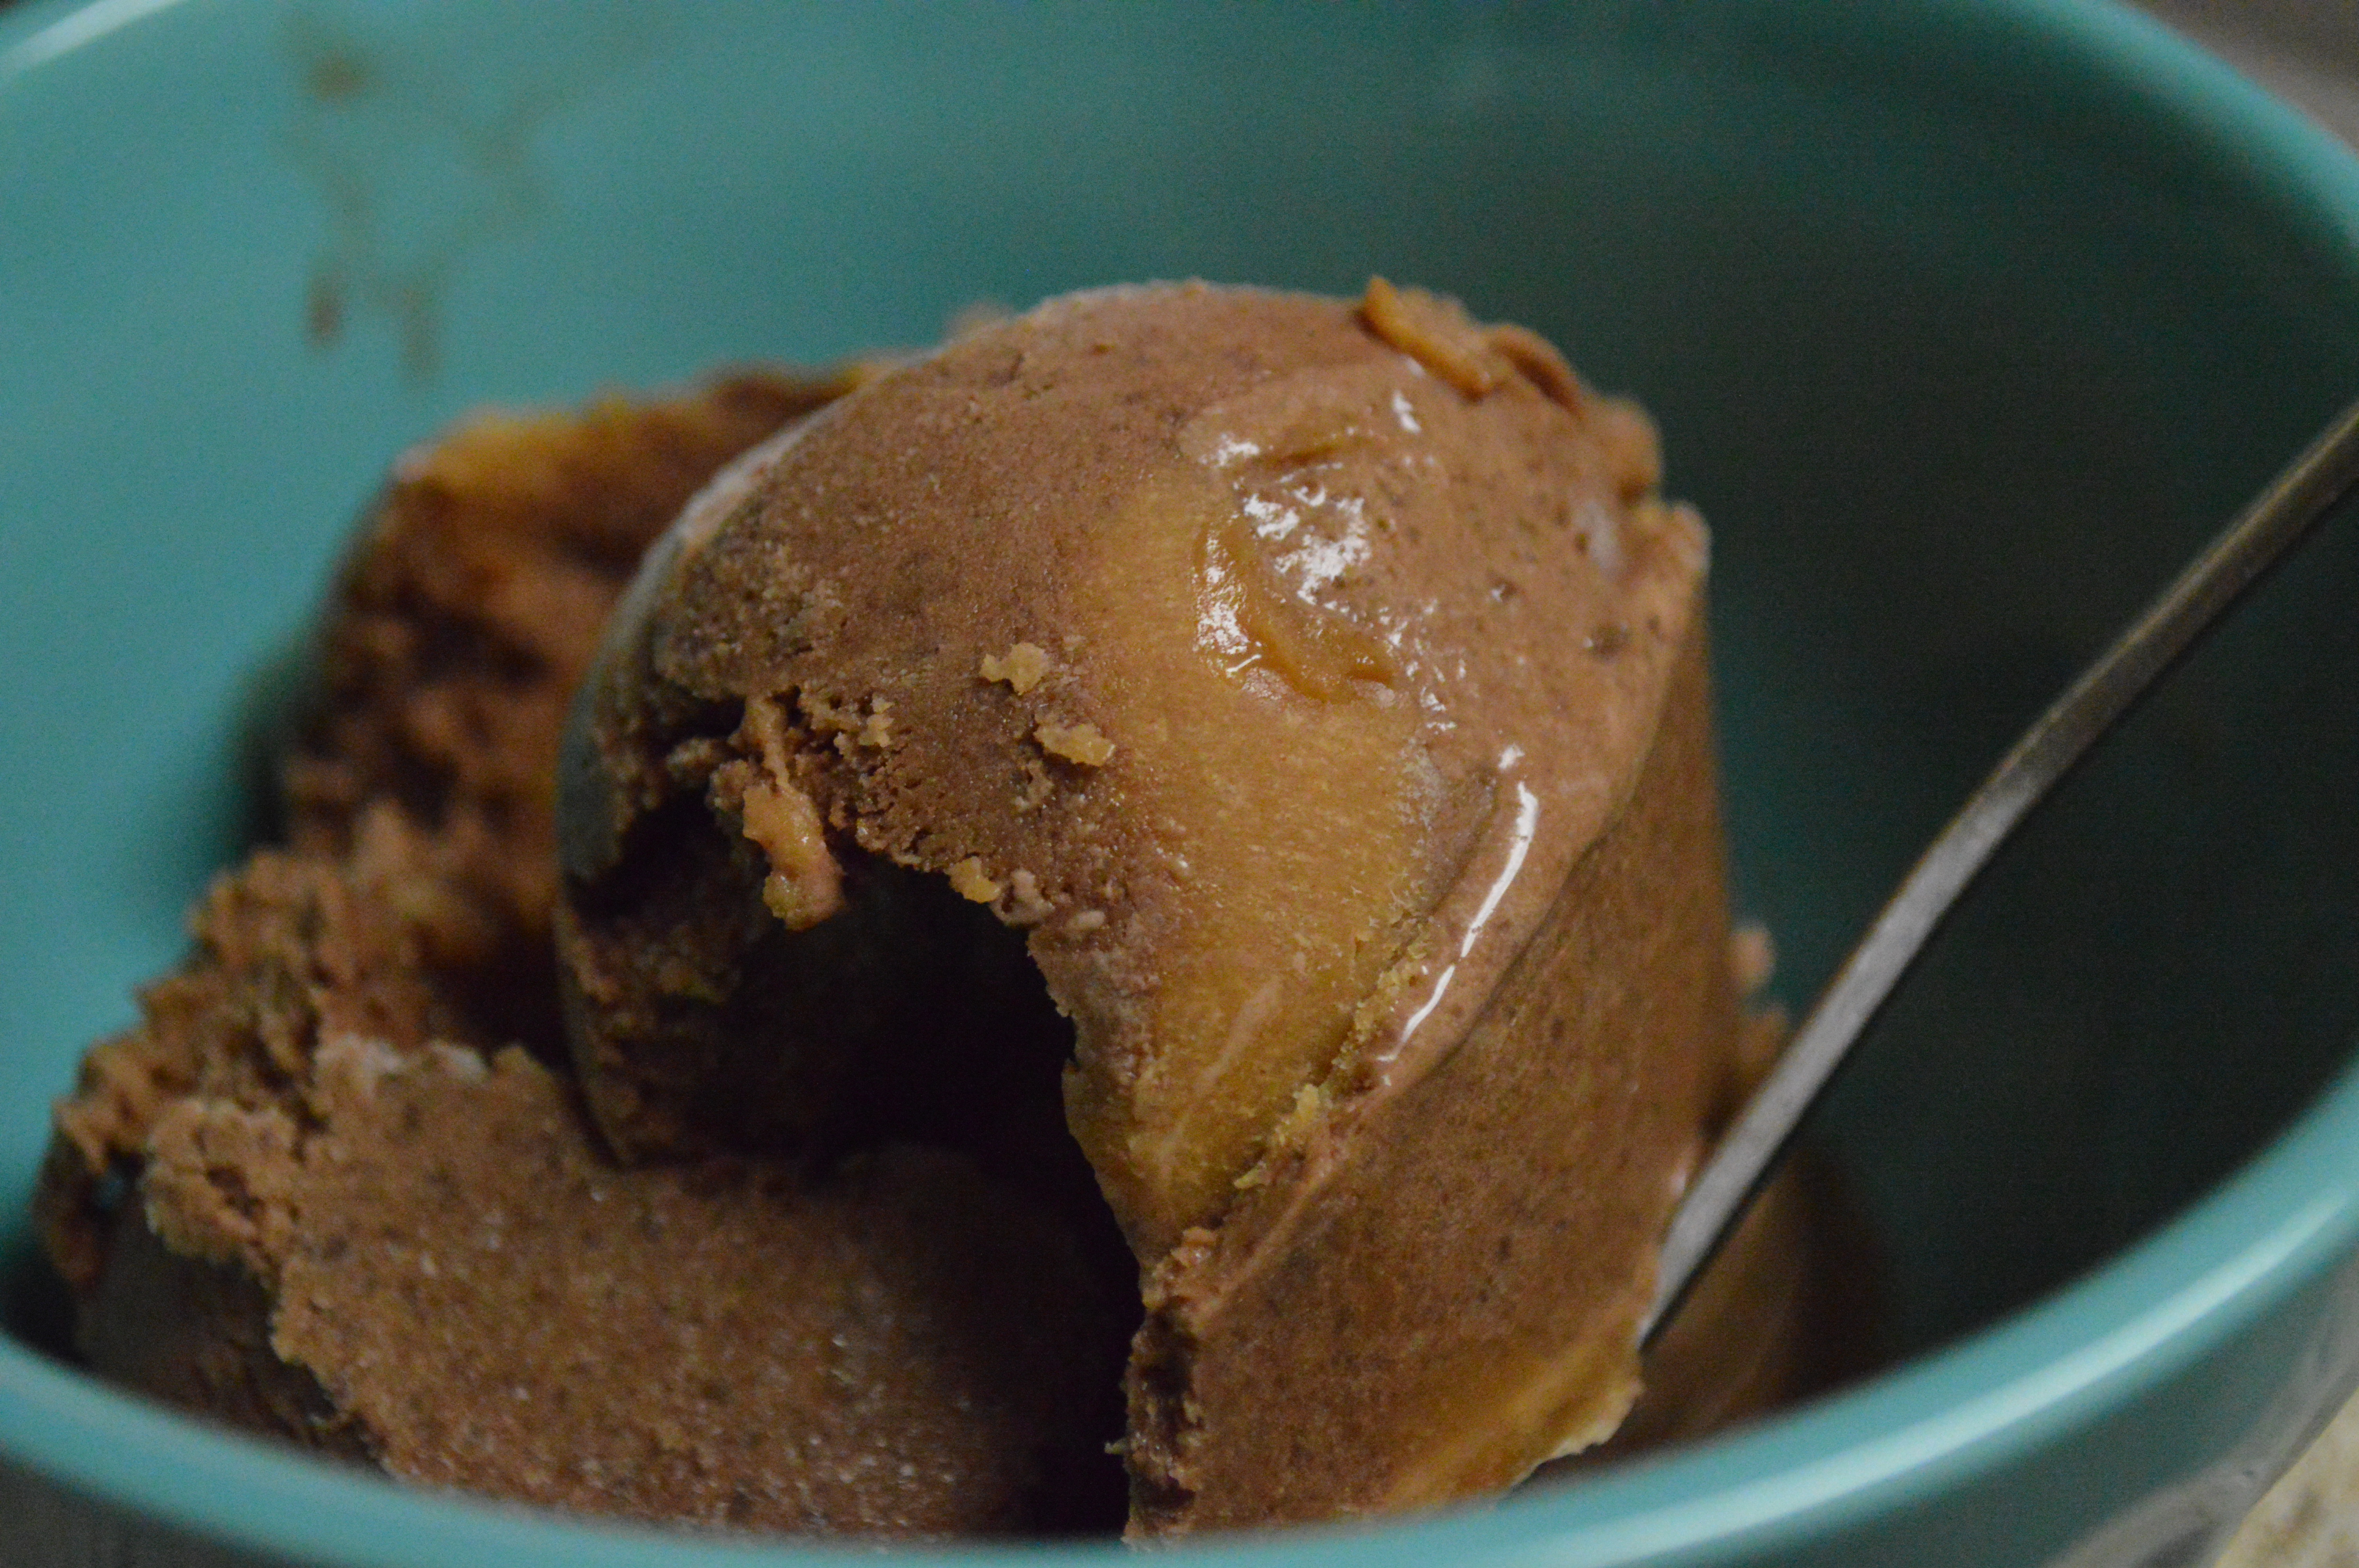
Lastly for tonight, we have a tasty muffin recipe. These are funny. Whenever I first make them, I think they’re probably not a keeper. But then they just keep me coming back for more, and they win me over. A solid recipe that’s not too bad OR good for you. ;P
Apple Peanut Butter Muffins (from Money Saving Mom)
1 c. all-purpose flour
1 c. whole wheat flour
1 c. raw sugar
1 tbsp. baking powder
2 tsp. cinnamon
2 c. peeled, cored, diced apples
3/4 c. apple juice
1 egg
1/3 c. olive oil
1/2 c. peanut butter chips
- In a medium bowl, mix together the flours, sugar, baking powder, and cinnamon, then stir in the apples. In a small bowl, whisk together the juice and oil, then add in the egg.
- Pour the wet ingredients into the dry ingredients and stir until just moistened. Portion out 2 tablespoons per muffin cup and sprinkle on 1 teaspoon of peanut butter chips, then top each with the remaining batter.
- Bake at 400 degrees for 17-20 minutes.
Do YOU have a favorite legume?
